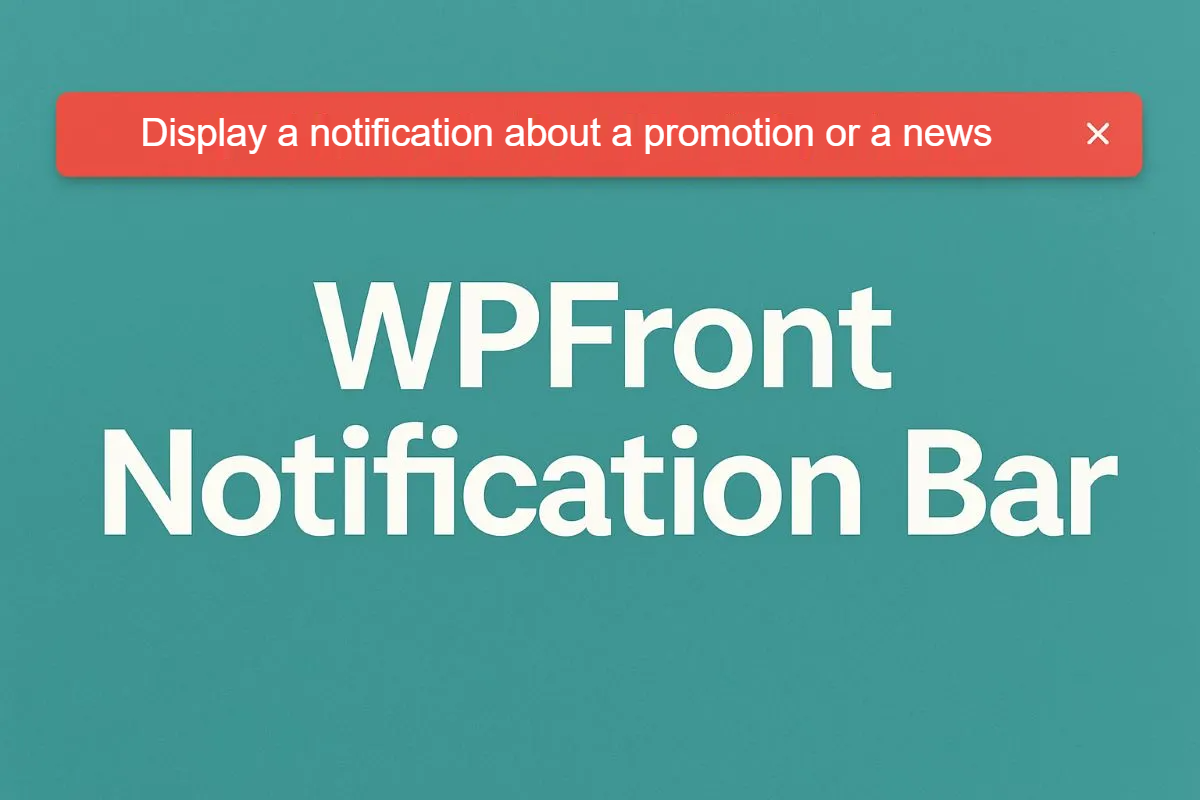
What Is WPFront Notification Bar
WPFront Notification Bar is a WordPress plugin for displaying short, visible messages on a website. It places a bar at the top or bottom of the page, giving site owners a simple way to share news, promotions, updates, or time-sensitive notices.
Instead of relying on visitors to spot a small announcement buried inside a page, you can put the message directly in their path. That can work well for a temporary sale, a shipping update, a maintenance notice, a new product launch, or a reminder about an upcoming event.
The plugin is built around control. You choose the text, placement, timing, colors, audience, and pages where the message appears. Visitors can close the bar if you enable that option, and they may be able to reopen it later.
Simple message. Clear visibility.
Why Use a Notification Bar on Your WordPress Site
Website visitors often arrive with a specific goal. They may want to read an article, check pricing, contact your business, or buy something. A notification bar can share a useful update without forcing them through a pop-up window or interrupting the page completely.
For example, an online shop could show “Free delivery this weekend” with a link to its shipping details. A local business might post holiday opening hours. A membership site could notify logged-in users about a new feature or scheduled maintenance.
The best bars feel relevant and brief. A long announcement packed with several ideas can be easy to ignore. Put the most useful point first, then give visitors a clear next step if one is needed.
Timing matters, too. A message about a short promotion should not remain visible weeks after the offer ends. WPFront Notification Bar includes date and timing controls that help keep notices current.
Create Messages That Get Attention
Start with a direct message. Visitors should understand the point in a few seconds. “Save 15% through Sunday” is clearer than a vague line about exciting opportunities. Use plain language, state the benefit or update, and avoid trying to say too much in one narrow bar.
A notification bar does not need to carry every detail. Its job can be to introduce the news and send interested people to another page. That keeps the bar readable on desktops and phones.
Match the tone to your site. A casual store may use friendly wording, while a professional service business may choose a more straightforward message. The message should still sound like it belongs on your website.
WPFront Notification Bar can display a button beside your message. The button can open a URL, making it useful for sending people to a sale page, sign-up form, announcement, article, or contact page.
Keep button text short. Labels such as “Shop Now,” “Read More,” “View Details,” or “Register” tell visitors what happens next. A vague label can create hesitation, especially if the notice already has limited space.
You do not have to use a button for every message. A short maintenance update or simple holiday-hours notice may work better without one.
Use Shortcodes and JavaScript Actions
The plugin processes shortcodes, which can help you insert content generated by another WordPress feature. This is handy if your site already uses shortcodes for changing text, forms, account details, or other site elements.
The button can execute JavaScript instead of opening a link. That gives developers room to connect the bar to actions already used on the site, such as opening an on-page element or triggering a custom interaction.
Test any custom JavaScript carefully before publishing it. A notification should make a page easier to use, not create confusion or errors.
Choose Where and When Your Bar Appears
A well-written message can still fail if it appears in the wrong place or at the wrong moment. WPFront Notification Bar gives you several display settings, so the notice can fit your page design and visitor behavior.
Place It at the Top or Bottom of the Page
You can position the notification bar at the top or bottom of the page. A top bar is usually seen immediately, making it useful for urgent notices, promotions, or major site updates.
A bottom bar may feel less intrusive, especially on pages with a prominent header or menu. Check both placements on your site before settling on one. The right choice depends on the design, header height, and content layout.
Use Sticky and Scroll-Based Display Options
A sticky bar stays fixed in position as visitors move through the page. This can keep an offer or reminder visible during a long article, product page, or landing page.
There is a balance to strike. A fixed bar takes up screen space, so it should earn that space with a useful message. If the announcement is less urgent, displaying it after a visitor scrolls can feel more natural.
The display-on-scroll setting is useful for readers who need a moment to engage with the page before seeing a notice. It can reduce the feeling that an announcement is competing with the page’s main content.
Control Delays and Auto-Close Timing
You can set the number of seconds before the bar appears. A short delay can give the page time to load and let visitors orient themselves first.
Auto-close timing is available too. This can suit brief notices that do not need to remain on screen. Still, avoid closing an important message so quickly that visitors cannot read it.
Try to make timing feel considerate rather than aggressive.
Customize the Look and Visitor Controls
Notification bars work best when they fit the site instead of looking pasted on. WPFront Notification Bar includes visual settings that let you align the notice with your brand colors and overall style.
Adjust Colors and Bar Height
Colors are fully customizable, allowing you to choose the background, message, and button appearance. High contrast helps people read the notice quickly. For instance, pale text on a pale background can make even a strong promotion disappear.
You can set the height of the bar as well. A compact bar may suit a short sentence, while a taller format may be needed for a longer message or button. Avoid excessive height, particularly if your pages receive plenty of mobile traffic.
The plugin can display a close button, giving visitors a way to remove the notification. This is a small courtesy that can improve the browsing experience, especially for people reading longer pages.
You can also display a reopen button. That gives visitors a path back to the message after they have dismissed it. It is helpful for offers, notices, or links someone may want to revisit later.
Target the Right Audience
Showing every notice to every visitor is rarely the best approach. A logged-in member does not need the same message as a first-time shopper, and a notice about a specific service may only matter on a few pages.
Show Bars on Specific Pages and Posts
WPFront Notification Bar lets you select the pages and posts where the notification appears. This keeps announcements relevant. A promotion for a course, for example, can appear on related course pages rather than across an entire site.
Focused placement can make a message feel useful instead of repetitive. It may even help reduce banner fatigue among regular visitors.
Target Selected User Roles
You can select user roles for a notification. That is useful on WordPress sites with administrators, editors, members, customers, subscribers, or other logged-in groups.
A private notice for members can stay separate from public promotions. Site managers can use this setting to communicate more carefully without filling public pages with internal updates.
Schedule Notifications With Start and End Dates
Start and end dates make scheduled announcements easier to manage. Set a promotion to begin on a chosen date and stop automatically after it expires. The same approach works for event reminders, seasonal messages, and limited-time updates.
Automatic end dates help prevent stale content. Nobody wants to click a holiday offer in February or see an event reminder after the event has passed.
Manage the Mobile Experience
Small screens leave little room for extra interface elements. A bar that looks neat on a wide desktop monitor can cover too much content on a phone, particularly if the text is long or the button is large.
WPFront Notification Bar includes an option to hide the notification on small devices. This can be useful if the bar does not suit your mobile layout or if mobile visitors need a cleaner view of the page.
Before making that choice, check the bar on real phones if possible. Short text, sensible height, strong contrast, and a clear close button may make it perfectly usable on mobile. If it feels crowded, hiding it is often the better call.
What You Get With WPFront Notification Bar Pro
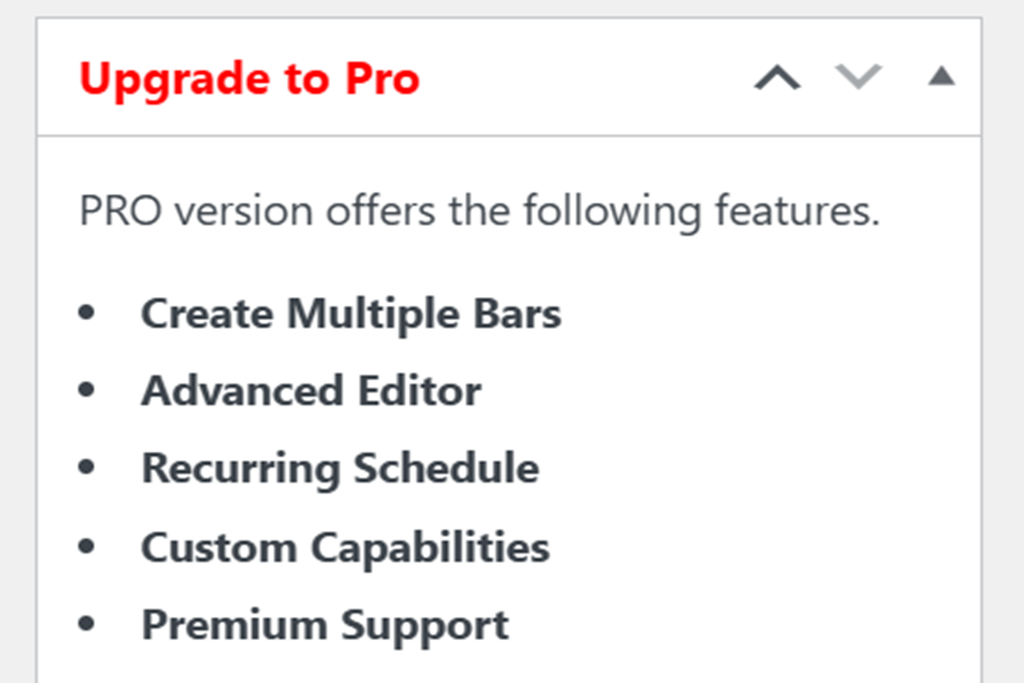
The Pro version adds the ability to create multiple notification bars and use an advanced editor. That can be helpful for sites that run several promotions, need different messages for separate sections, or want more flexibility while building notices.
Multiple bars can support a more organized approach. You might prepare a bar for a sale, another for a service update, and another for members, then control where and when each appears.
For a single basic announcement, the standard feature set may be enough. For websites that regularly publish targeted notices, scheduled campaigns, or several messages at once, Pro adds room to manage those communications more comfortably.
Last but not least, our website currently uses the free version of WPFront Notification Bar. If you have questions, tips, or experiences with the plugin, we would love to hear from you.